


Serves: 8
This is one of my favorite recipes for entertaining, Gluten Free Cream Puffs!! People cannot tell the difference between these and the Gluten filled version.
Sorry for this week's delay in posting a recipe, I was celebrating my birthday and I had the privileged of going to the Opening Night of John Grisham's "A Time to Kill" on Broadway. I was watching the stars at the event and it took till this weekend to recover. It was fantastic. They did an amazing job of adapting the Book/Movie to the stage. This is high praise coming from me, since I tend to get bored watching live theater. I highly recommend getting tickets if you are in the New York area this holiday season.
Now back to the recipe... The timing of this recipe is important. Otherwise, this is an easy recipe. If you follow the directions, you will get great results every time.
 |
| Cream Puff |

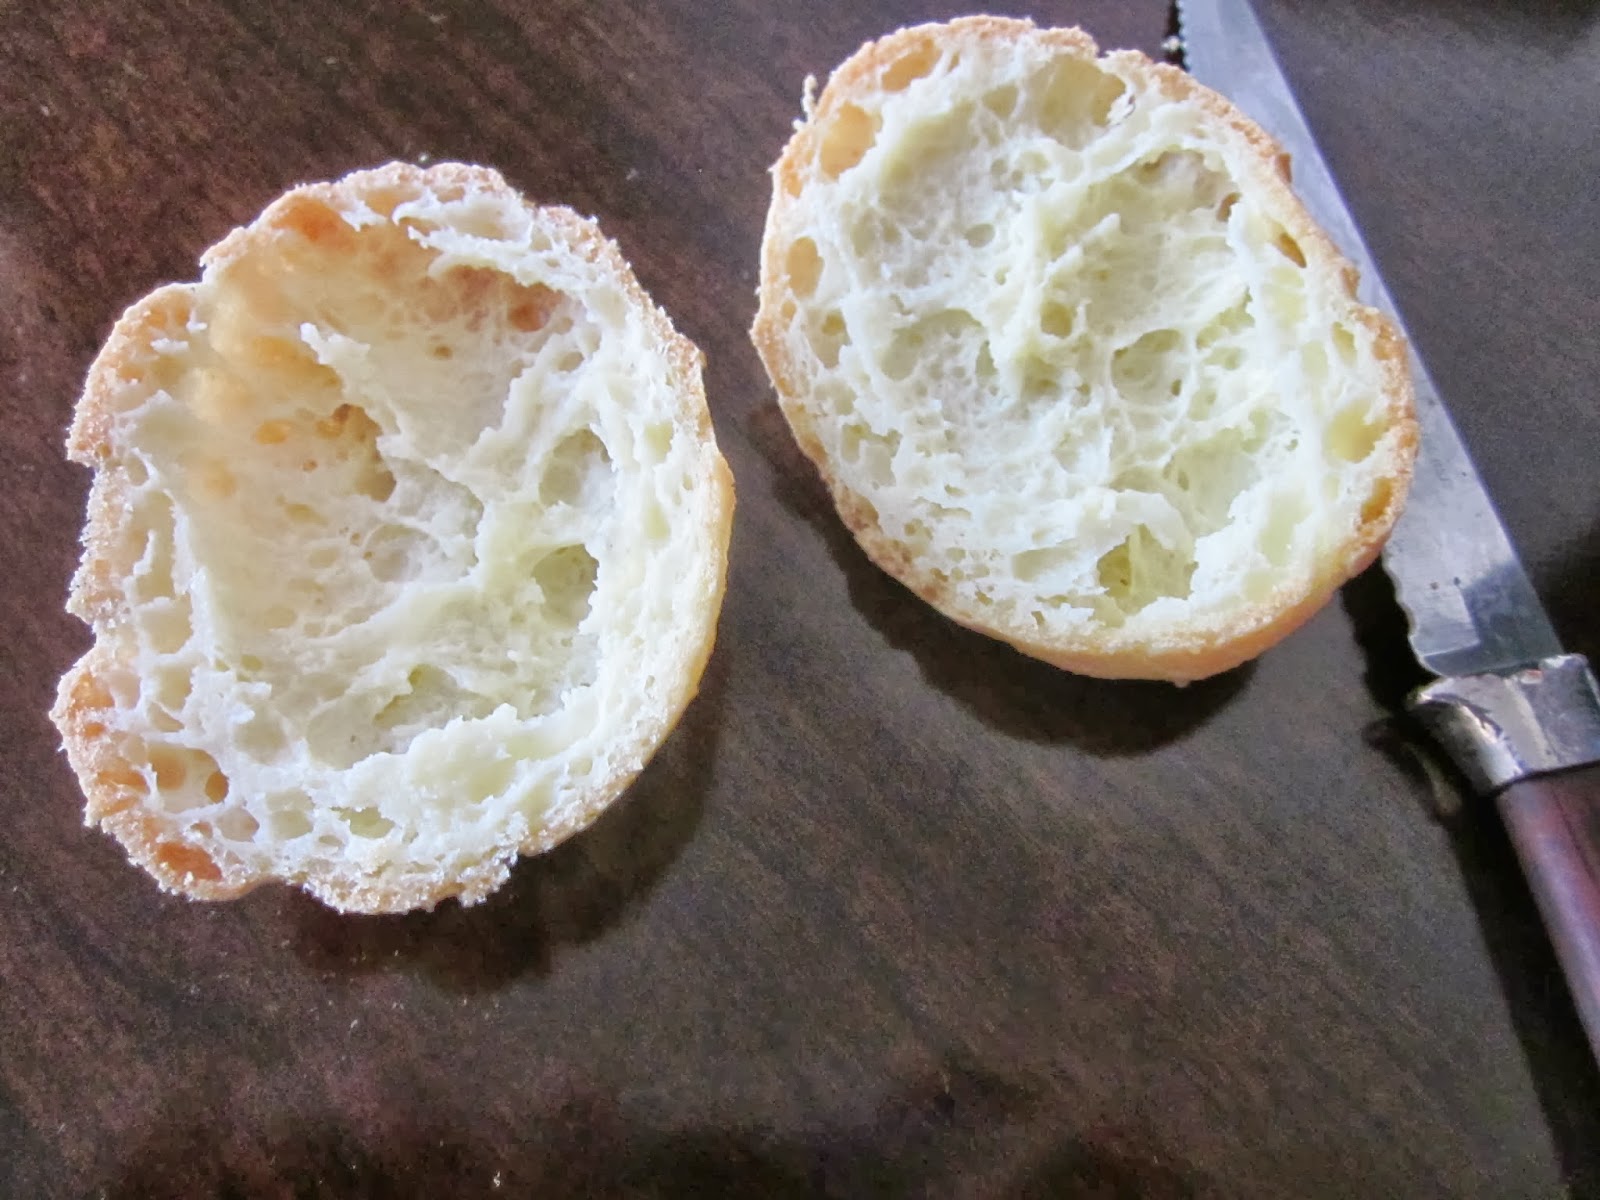
This recipe makes ~8 Cream Puffs that take 3 bites to eat as shown the pics above. I also like to make smaller bite sized Cream Puffs. The recipe makes about 15 bite sized Puffs. They are easier to eat and there is no evidence left behind when it can be eaten in one bite :)
Makes approximately 8 Cream Puffs where each shell has approximately:
100 Calories, 7g Carbs, 13g Fat, 2g Protein
Add an additional 200 Calories for filling and icing.
Cream Puff Shell
| 1/2 cup | Water | |
| 1/4 cup | Butter or Margarine | |
| 1 t | Vanilla | |
| 1/8 t | Salt | |
| 7 T | Rice Flour | |
| 2 | Eggs |
Chocolate Icing
| 1 T | Butter or Margarine | |
| 1 square | Unsweetened Chocolate (1oz) | |
| pinch | Salt | |
| 2 T | Milk | |
| 1/2 t | Vanilla | |
| 1 - 2 cups | Icing Sugar (till desired consistency) |
Whipped Cream
| 1 cup | Heavy Cream | |
| 2 T | Sugar | |
| 1/2 t | Vanilla |
Directions for Cream Puff Shell
1. Pre-heat oven to 400F.
2. In a small saucepan bring Water, Butter, Vanilla, and Salt to a boil over medium heat.
3. Stir in the flour all at once. Stir the mixture until it forms a ball.

5. Transfer to a small mixing bowl and mix in eggs one at a time using an electric mixer. Beat until the mixture is smooth.

Tip: Batter can also be placed into a piping bag with an open tip and piped onto the cooking sheet. This will give the cream puff a smoother look than ones that have been spooned.


9. Once the shells are cool, cut the top off of the shells with a serrated knife. Remove the excess dough from the inside.

Directions for Chocolate Icing
Directions for Whipped Cream 1. Melt the chocolate and butter in the microwave on medium heat for 15 second intervals till melted.
2. Add the Salt, Vanilla, and Milk.
3. Add Icing Sugar till desired consistency.
1. Beat the Cream, Sugar, and Vanilla with an electric mixer till peaks form (~3 minutes). Be careful not to over whip or it will become butter-like.
Tip: Whipped cream whips better when it is chilled. If it is warm it will remain liquid.
- Fill the shells with Whipped Cream when you are ready to serve.
There is an endless number of variations on this recipe. They may be dusted with icing sugar instead of chocolate icing. They may also be filled with pudding, custard. Fruit or other flavorings may be added to the whipped cream. Your imagination is the limit.
It is best to fill just before serving to prevent the shell from getting soft. Shells can last in the refrigerator for up to a week.
Brand Recommendations:
I don't have a specific recommendation for the Rice Flour, but I like to purchase it at my local Chinese market. It a lot cheaper than my local grocery store.
Please post your experience with this recipe in the comments... and is it worth the calories?
This looks amazing. I will be trying these.
ReplyDeleteThanks!!
Delete